
Discover 2’x2′ epiXsky All Star Drop Ceiling panels, designed to elevate your space with effortless lighting solutions. Here are some insights and tips to ensure seamless installation and troubleshooting:
Key Points for Installation:
Each tile is equipped with specialized light engines located at the back, ensuring optimal brightness and performance for a starry night inside!
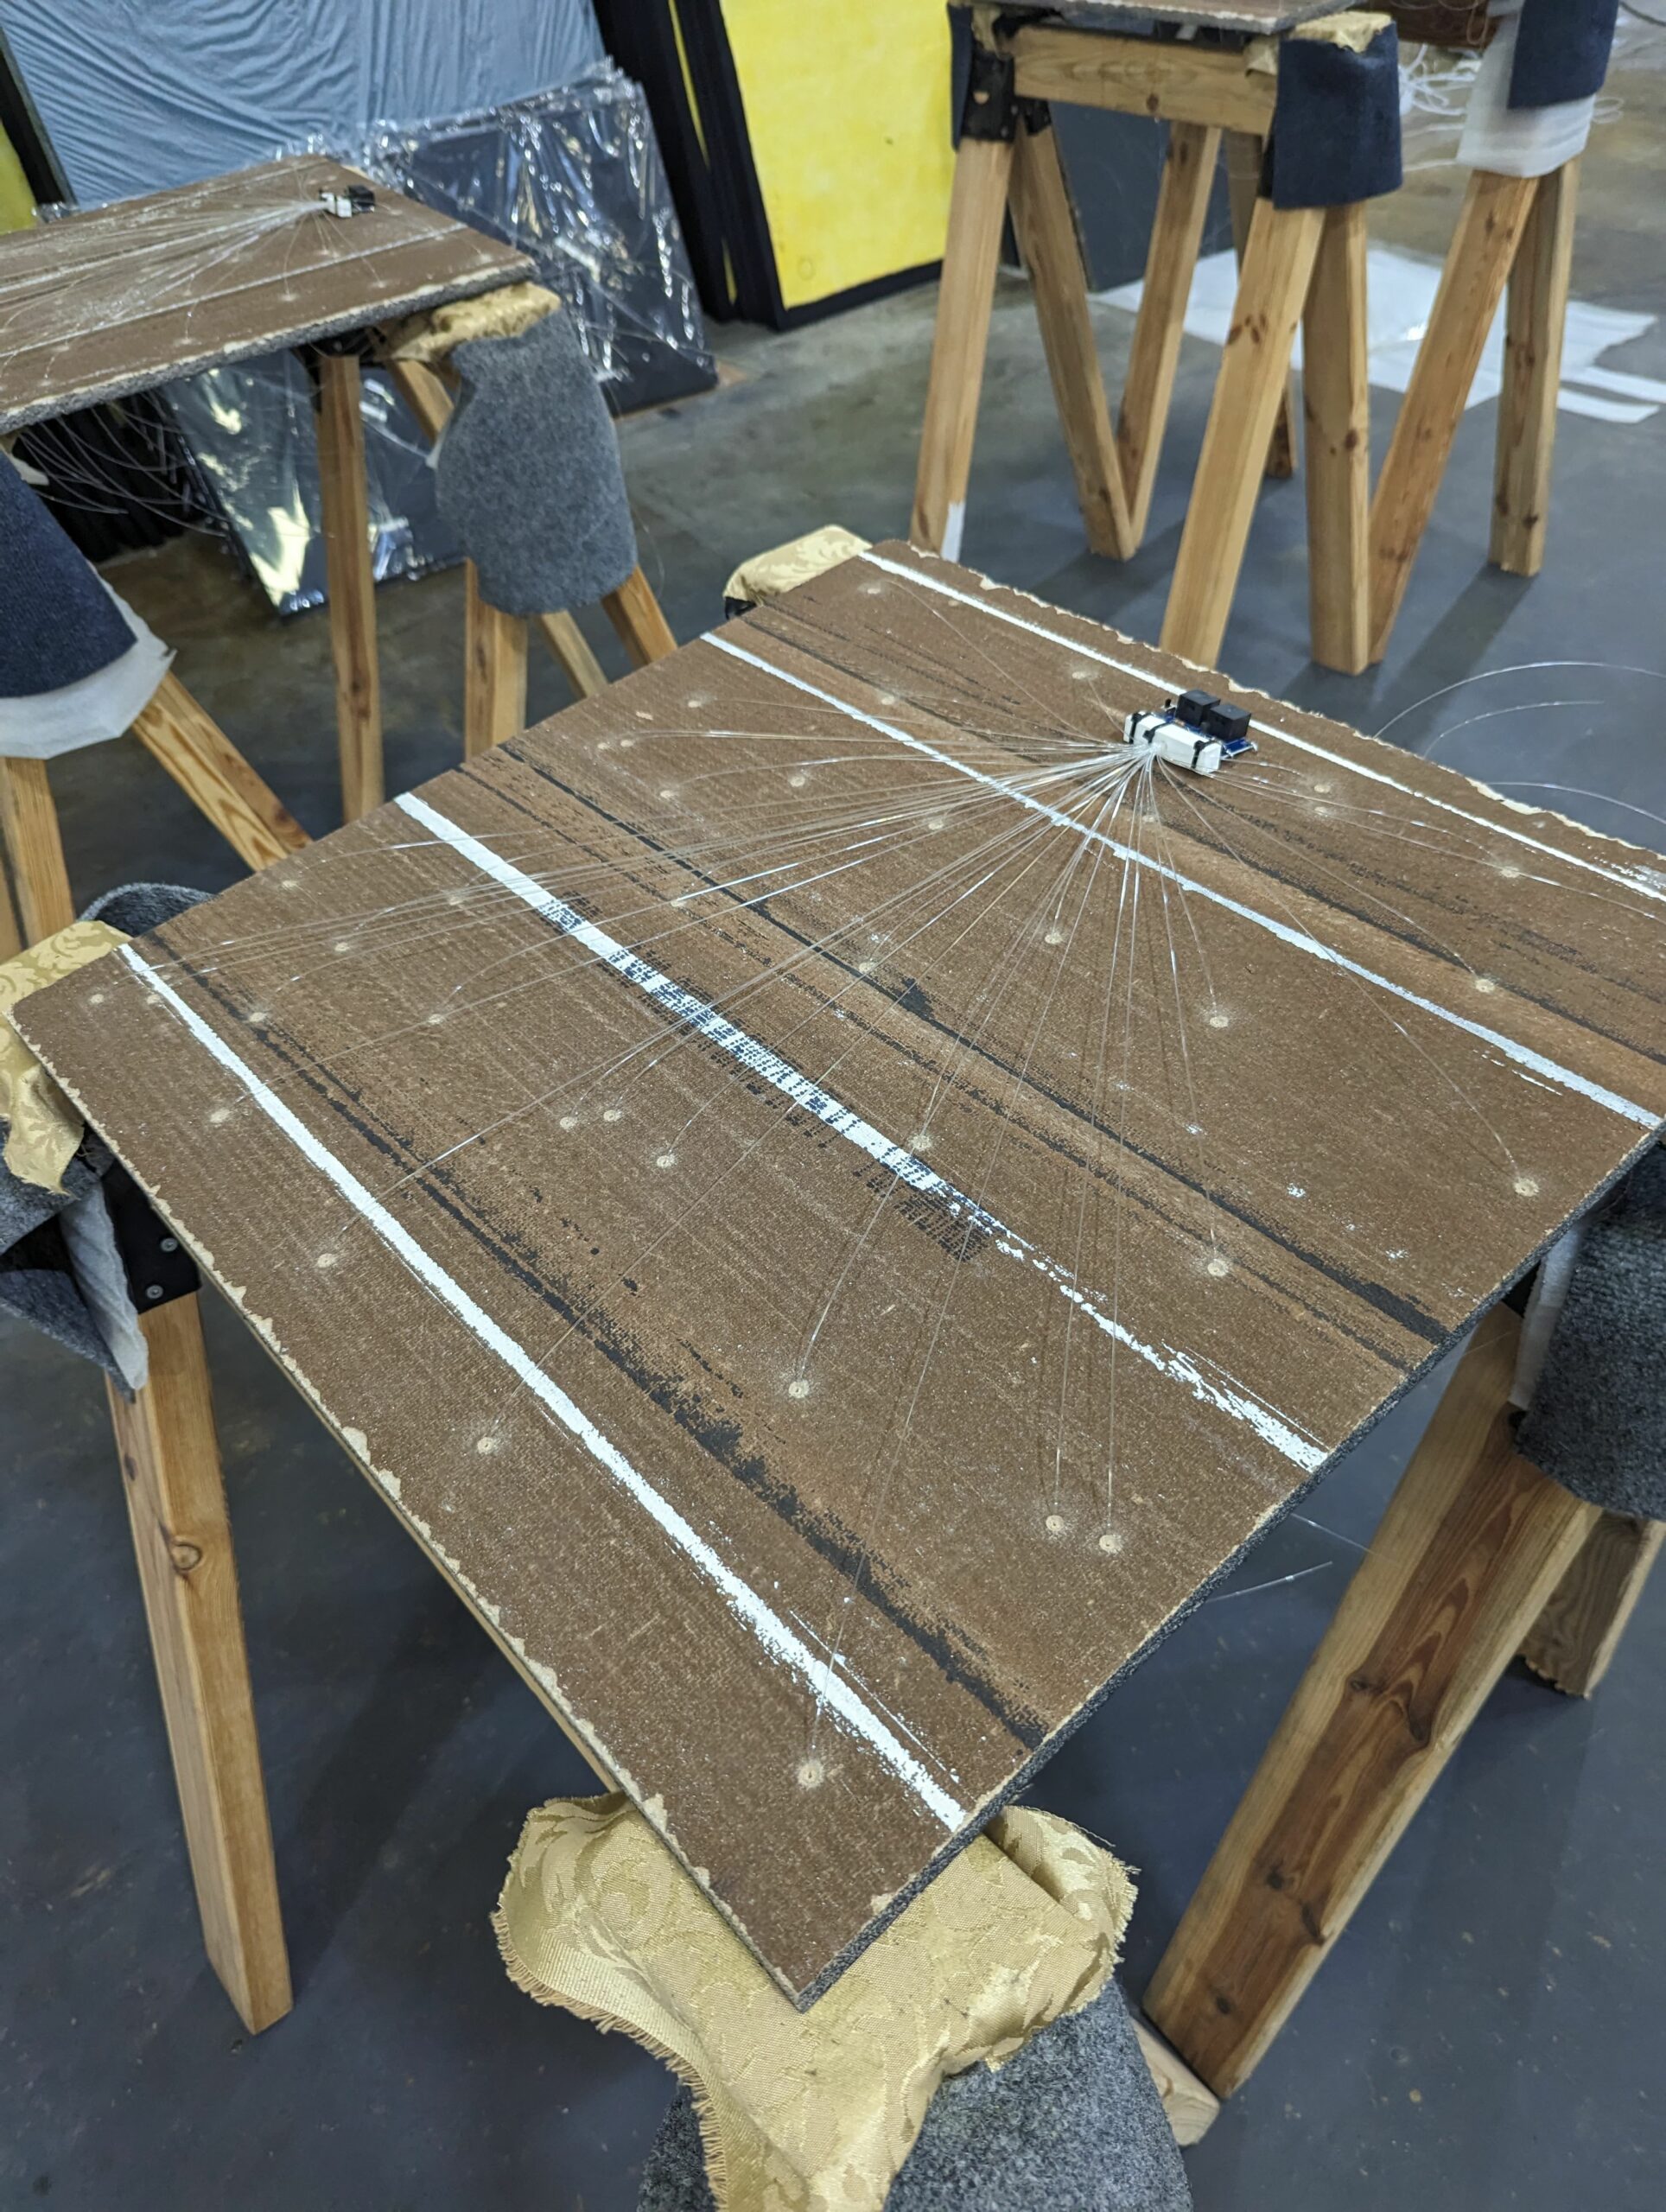
The setup process is straightforward: effortlessly power the tiles by connecting the provided 5ft RJ45 jumper cables between each tile. To extend the reach, employ the 10ft RJ45 jumper cable, connecting it at the chain’s end to the epiXsky Hub.
For the final setup, insert the 10ft RJ45 connector into the epiX Hub. Subsequently, establish the epiX Hub’s connection to the power supply. Complete the installation by plugging the power supply into a standard wall outlet.
Troubleshooting Guidelines:
To troubleshoot any issues, ensure the secure connection of each RJ45 jumper into its corresponding light engine, ensuring a snug fit to prevent any connectivity problems.
Verify the use of the correct power supply for uninterrupted functionality.
In the event of encountering challenges during the installation process, our dedicated support team is readily available to assist you. Reach out for prompt assistance to streamline your installation experience.
With its user-friendly setup, the installation of the epiXsky All Star Drop Ceiling panels is typically hassle-free. However, should any difficulties arise, our support team stands prepared to guide you through the process.